
The allure of a well – decorated room is undeniable, and wallpaper has long been a go – to option for adding character and style. But traditional wallpaper installation can be a daunting, messy, and expensive task. Enter peel and stick wallpaper – a game – changer in the world of home decor. We recently used it to transform the middle bedroom at our beach house, and the results were nothing short of amazing. In just a few hours and for less than $100, we completely revamped the space, and in this article, we’ll walk you through the entire process.
The Magic of Peel and Stick Wallpaper
When we decided to spruce up the middle bedroom, we knew we wanted something that was both beautiful and easy to install. Peel and stick wallpaper fit the bill perfectly. Unlike traditional wallpapers that require messy glue applications or wetting pre – pasted paper to activate the adhesive, peel and stick wallpaper is essentially a giant sticker. This means you can stick and restick it until you get it just right, streamlining the installation process and making it far less messy. It’s also 100% removable, so if we ever decide to change the look of the room, we can do so without the headache of removing layers of traditional wallpaper.
Strategic Choices for a Hassle – Free Project
Choosing the Right Wallpaper
The first strategic choice we made was opting for peel and stick wallpaper. Its user – friendly nature made the entire installation process a breeze. We didn’t have to worry about messy glue spills or uneven adhesive application. The ability to reposition the wallpaper until it’s perfect is a huge advantage, especially for those of us who aren’t professional decorators.
Wallpapering Above Wainscotting
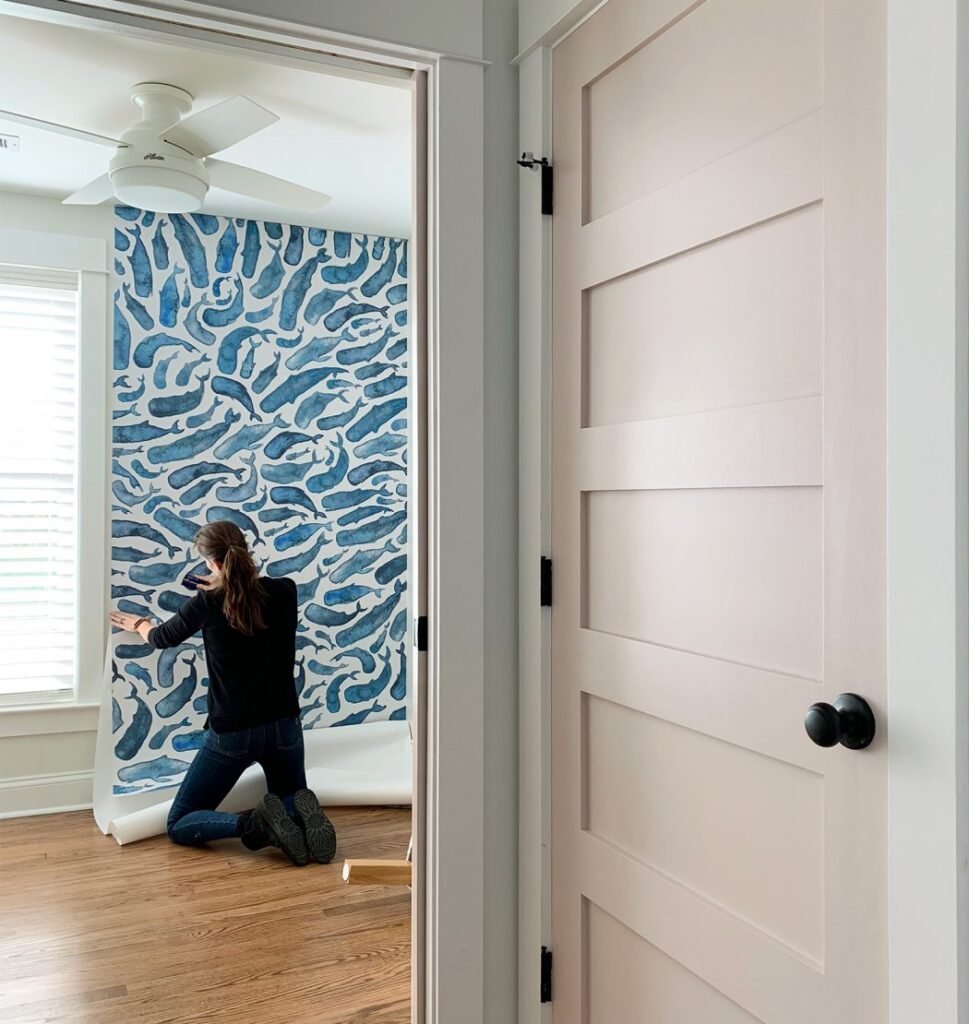
The second smart decision was to only wallpaper above the wainscotting. We had recently installed a board and batten molding treatment in the room to give it a brighter, beachier feel. By wallpapering only the area above the wainscotting, we not only saved time and money but also created a unique and visually appealing look. While the method we used can be applied to larger wall sections, it’s important to note that doing the entire wall from floor to ceiling would likely be more time – consuming and costly.
Finding the Perfect Wallpaper at the Right Price
We were lucky enough to score a great deal on our wallpaper. The pattern we chose, “Synchronized,” was initially found at Anthropologie for $150 (even with a coupon). However, our wonderful readers informed us that it was also available at other online retailers like Target, JoAnn Fabrics, and Home Depot at lower prices. By taking advantage of a sale and applying an additional coupon at JoAnn, we managed to get 4 rolls for just $85, including shipping and tax. This goes to show that it pays to shop around before making a purchase.
Tools and Materials You’ll Need
The list of tools required for installing peel and stick wallpaper is refreshingly short. You’ll need a sharp utility or craft knife for cutting the wallpaper precisely, scissors for any smaller trimming, a measuring tape to ensure accurate cuts, and a yardstick (preferably metal) to use as a straight edge. A wallpaper smoother, or even a credit card in a pinch, will help smooth out any air bubbles. A level is crucial to ensure your wallpaper is straight, and we used a 9 – inch one since larger ones wouldn’t fit above our molding. A step ladder might come in handy, especially if you’re working on a taller wall, and a pen or pencil for marking measurements. Having a cutting surface like a piece of scrap wood or cardboard is also beneficial.
Planning Your Pattern Placement
To make the most of each roll and minimize waste, it’s essential to understand the wallpaper pattern’s “repeat” before starting the installation. Our pattern repeated every 20.5 inches. We took this into account when installing the board and batten, making the space above it slightly less than 20.5 inches to fit one repeat of the pattern with some extra for safety. If the wall space above the wainscoting had been taller, we would have had to cut into a second repeat, resulting in wasted wallpaper. Consider the pattern repeat and whether it can be rotated when planning your installation.
Hanging Your First Piece
When it came time to hang the first piece of wallpaper, we measured and cut one “repeat” worth of wallpaper using a sharp utility knife and a metal yardstick. While it might seem logical to cut all the sections at once, we quickly realized that our ceiling wasn’t perfectly level, and in some spots, the wall space was slightly taller than the 20.5 – inch repeat. This meant we had to cut a few sections larger than a single repeat, resulting in some waste. We found it safer to cut one or two pieces at a time, regularly measuring the wall to ensure accurate cuts.
When starting the installation, it’s crucial to make sure the first piece is perfectly straight on the vertical edge. Do not rely on the corner as a guide for leveling. Corners are rarely perfectly level and square, and if your first piece is off, the pattern will gradually become askew as you continue around the room. Instead, use an actual level. We measured out from the corner slightly less than the width of our roll and drew a level line on the wall with a pencil. This ensured that our first piece was straight and set the stage for a seamless installation.
With these steps and tips, you’ll be well on your way to transforming your room with peel and stick wallpaper. Have you ever tried using peel and stick wallpaper? What challenges did you face, and how did you overcome them?

